
I recently had a fantastic time visiting Tried & True Teaching Tools‘ 4th grade classroom to do the Turkey Transporter Thanksgiving STEM Challenge. They came up with such great ideas and did a fantastic job of analyzing their designs. We even had time for two rounds of testing. I’ll be honest — I am pretty much the worst with keeping to my STEM Challenge timings!
I’m always solid with the planning and building, but once we get to the sharing of designs, testing, and discussion … all bets are off! And you know what? Sorry, not sorry! This is the golden stuff! This is where students are analyzing, making connections, building up their growth mindset skills — so I’m not likely to cut short some of the most valuable critical thinking and problem solving just because the clock says so! Teachers know that flexibility is important to capitalize on those magical, feel-good teaching moments, so that’s just what I prepare to do before a STEM Challenge.
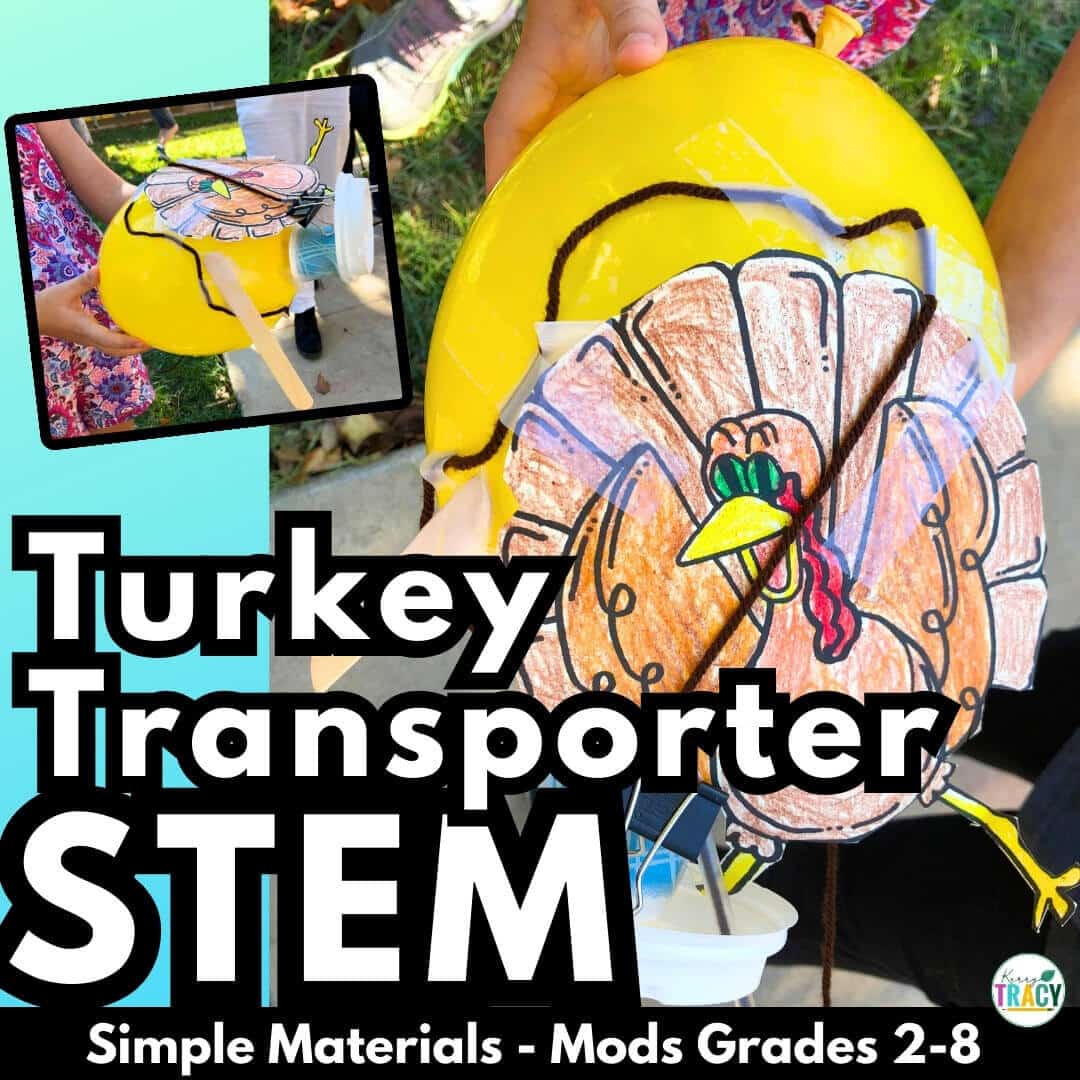
Turkey Transporter STEM Challenge
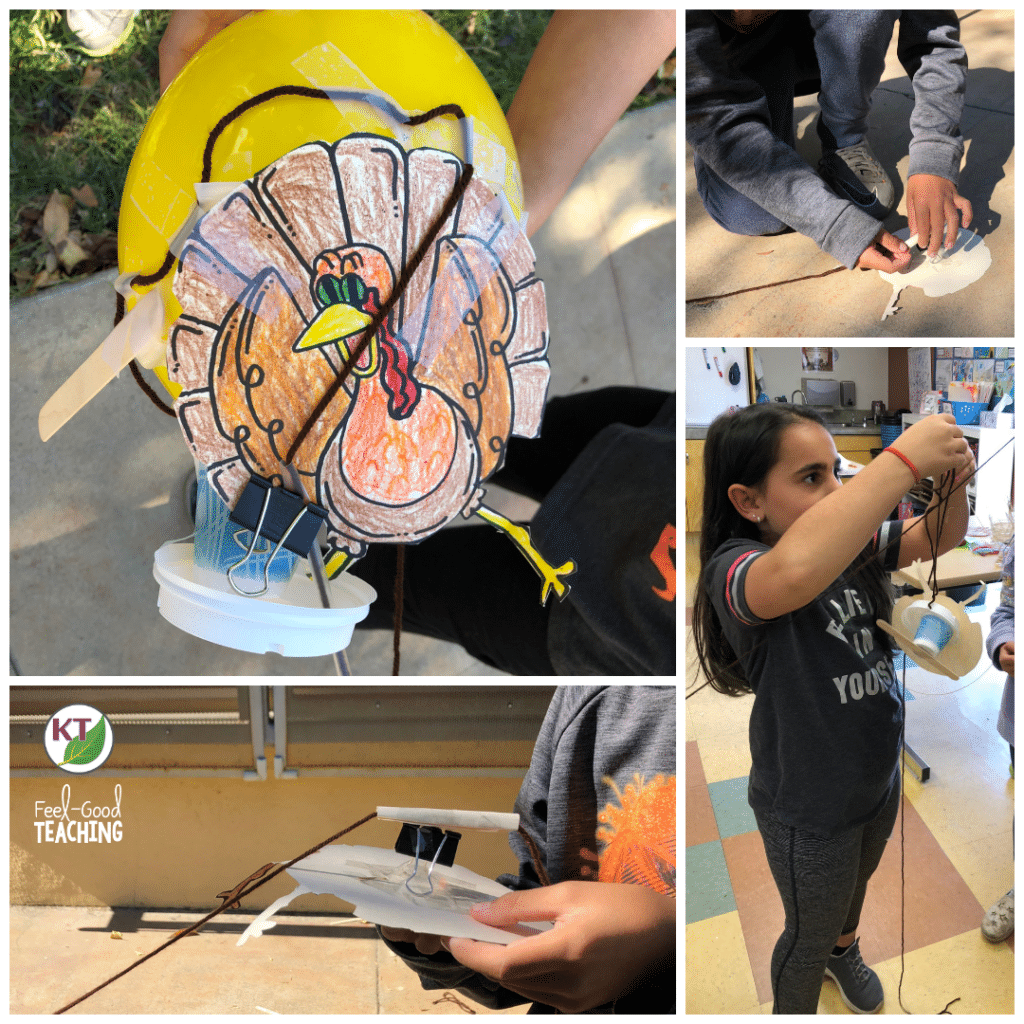
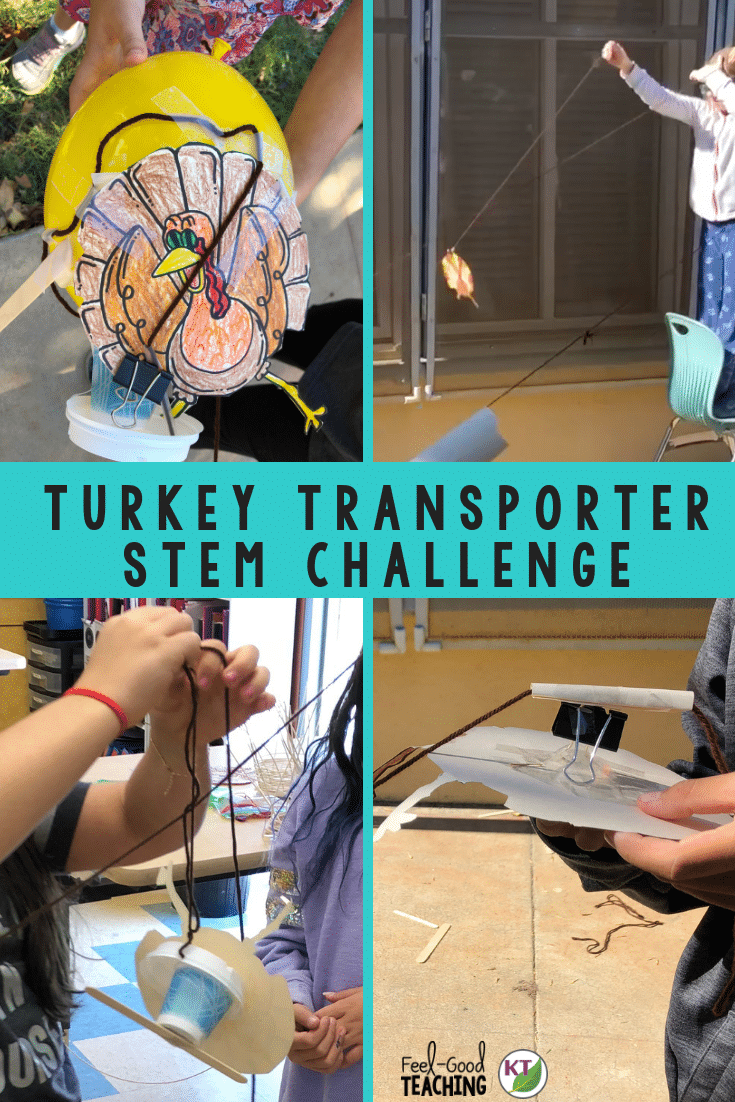
In this STEM Challenge, students have to design something to get a turkey safely from point A to point B. There are two options: horizontal or vertical distance. For this lesson, we chose to transport over a horizontal distance, but you can always do both to up the difficulty level, if you like.
In the horizontal test, the goal is to transport the turkey as quickly and safely as possible. In the vertical test, the goal is the slowest, safest drop.
Here’s a walk-through of the overall lesson with options to modify difficulty included:
The STEM Challenge Cycle
For any STEM Challenge, I have a standard format I tend to follow, but the time allotted for each section is variable. The video below shows the rough break down of a typical STEM Challenge lesson.
Different challenges do call for different amounts of time for the build and testing. Turkey Transporter is one that requires a little more testing time, especially if you want to provide students multiple tries at testing and/or time to modify designs after round 1.
My Turkey Transporter plan in this 4th grade class was as follows:
10 minutes: Intro myself and the challenge Criteria & Constraints List & distribute materials
25 minutes: Planning & build time (circulate & observe; answer clarifying questions)

Turkey Transporter Criteria and Constraints List
20 minutes: Share out designs and testing (Students briefly describe why they designed what they did, e.g. were they going . for light-weight designs, aerodynamics, adding weight, etc. Then they test!)
15 minutes: Whole-class discussion (I start with with base of 8 questions, but always add specific questions based on my observations throughout the challenge).
15 minutes: Begin the record & reflect handouts
Total time: One hour, 25 minutes (with extensions and other iterations to be considered for the following class periods).
… but here’s what actually happened!
5 minutes: Intro
I knew I needed to save as much time as I could where I could, so I quickly got through the intro and answered students’ clarifying questions about the Criteria & Constraints list. Students were put into groups of 4 and materials were distributed.
25 minutes: Plan & Build
As I said, this part isn’t too hard to stick to. I didn’t give students a defined time for planning vs. building, we just jumped right into it. I circulated and observed during this time. I also called out occasionally to let them know how much time they had left.
While I was circulating, some students asked clarifying questions. I usually referred them back to the Criteria & Constraints List. If they’ve found a loophole in the list I provided, I consider that a big win. In this case, a couple of groups rolled their turkeys (see examples in the testing videos further down). The Criteria & Constraints list says no damage can occur – no folds, not tears, no crumples. But rolling it, while it could be argued results in damage, it can also be argued it does not. I allowed it.
In the future, I might consider changing the constraint to include that the turkey template must maintain its flat shape after it is transported. But, to be honest, I might not change it at all. It worked well, but there were plenty of other great designs too!
During the regular build time, groups were performing their own tests and tweaking their designs.
35 minutes: Let the Official Testing Begin!
OK, here’s where I got off-track (#noregrets). We set up three testing stations. I recorded the testing on my phone so we could validate the timing, if there was a dispute. Before the test, the groups describe their designs and thinking behind it. Don’t skip this step! It’s important for students to describe their reasoning, and to hear that of their peers. Some of the best discussion questions and topics are inspired by this! In our case, some groups were trying to make their designs very light, while others were going for heavier designs. This set up a great discussion, and a potential science experiment/investigation for later!
Then, it was time to release! I included the first round of testing below:
After round 1, I could have chosen to stick to my original schedule. I was actually right on track at that point. But, here’s the thing … the students were deeply engaged and dying to have another go at testing. We decided to trade out the yarn for fishing line to see if that would make a difference (spoiler alert: it did, and now we opened up an opportunity to learn about friction!).
So, yeah, I gave the students more time to tweak designs and re-test. This gobbled up (pun intended) an extra 15 minutes I hadn’t planned for.
15 minutes: Whole-Class Discussion
I kept to this part of the schedule mostly because lunch stopped us! I have a standard set of questions as my foundation (see more on post challenge discussions here). In addition to those questions, we discussed two burning topics from the day: what to do when people copy your designs and what to do when your design fails or is ineffective.
Students naturally hate when their designs are copied. Frankly, I don’t know that we ever get over this. When someone copies my work, it throws me into a tailspin. One thing I do when this comes up is to validate the hard feelings that come along with it. The other point I try to make is to encourage students to give credit when they’re inspired by others’ designs. This small step does two things: 1) It helps the original creators feel better because they are getting the credit for being the first. 2) It helps all students understand the importance of crediting in general. This is helpful down the line when teaching about plagiarism and citing sources.
We also analyzed what worked well overall, what was tried, and what what factors impacted success. Importantly, we discussed keeping a cool head when designs don’t work out as planned. It’s important to me that students understand that it’s for sure more fun when our designs work, but it’s also not expected. In life, and especially in STEM, a lot of trial and error is the norm. What we’re looking for in any iteration is to learn something. You can do that from a design whether it’s successful or not. We also discussed that simply because a design doesn’t perform on the first try doesn’t mean it doesn’t have potential or merit. It’s often a small change that can turn everything around.
What We Missed!
So, we ran out of time to complete the record & reflect handouts. This isn’t the first time for me. Sometimes I give these as homework, or I put it on a “Must-Do” list for students for later that day or the next. I never skip it entirely; it’s the heart of the analysis piece! I go over more about the why and how of post-challenge activities in this post.
My STEM Challenge Advice
My advice to teachers is to not fear when challenges don’t go as planned. Be prepared to help students analyze and deal with the emotions that come with things not going to plan. I always say that you want to set up your challenges so that they’re actually challenging, not just fun. Fun is fabulous — but you want it to be fun with substance. Failed designs shouldn’t be feared! They should be welcomed! You can often find that if you take advantage, failed designs result in even better learning opportunities than successful ones. You just have to be prepared to jump on those opportunities to dive deep into analysis and work on those growth mindset skills.
Check out this post (especially the practice fearless failure section) if you want to know more about taking advantage of epic STEM Challenge fails!
Video resources:
Stop Making These Common STEM Challenge Mistakes
See More Thanksgiving
Thanksgiving STEM Challenges Hub Page
PIN ME, DON’T FORGET ME!


Kathie Yonemura
November 20, 2018 1:42 amThere were definite surprises! My students were so engaged with this challenge and as you can tell, they looked forward to the revision process to make their transporters and time even better! This was fabulous and the struggle was looked at by the kids as something to overcome, rather than be discouraged by. They’ve already been asking for the next STEM challenge! Thank you!!
[email protected]
November 21, 2018 7:59 pmKathie, thanks so much for inviting me into your class! It was great working with your kids and seeing how they really embraced the challenge and worked through obstacles — everything you want to see in a STEM Challenge! I’m so glad to hear they’re asking for more! 🙂